Do you want to make something sweet and fun? Try this Magic Candy Recipe! It is easy, colorful and very tasty. You don’t need any fancy tools.
This candy is great for kids and parties. It looks pretty and tastes amazing. The best part is you can make it fast at home. Making this Magic Candy Recipe feels like doing art and science together.
It is fun to see sugar turn into shiny candy. Kids love watching and helping too. Let’s learn how to make Magic Candy and enjoy some sweet magic today!
Why You’ll Love This Magic Candy
You will love this Magic Candy Recipe because it is simple and fun. The candy looks bright and colorful. It melts in your mouth and tastes so good.
You can make many colors and shapes. It is perfect for gifts, parties or snacks. Everyone smiles after tasting this candy.
Recipe Card Info
- Recipe Name: Magic Candy Recipe
- Servings: 12 pieces
- Prep Time: 10 mins
- Cook Time: 15 mins
- Total Time: 25 mins
- Course: Dessert
- Cuisine: American
- Calories: 90 kcal per serving
Equipment List
- Saucepan
- Candy thermometer
- Wooden spoon
- Baking sheet
- Parchment paper
- Measuring cups
- Small bowls
Ingredients You Need for Magic Candy
- 1 cup white sugar
- ½ cup light corn syrup
- ¼ cup water
- Food colors (any you like)
- ½ teaspoon flavor extract (lemon or strawberry)
- Powdered sugar for dusting
Step-by-Step Guide
1. Prepare the Setup
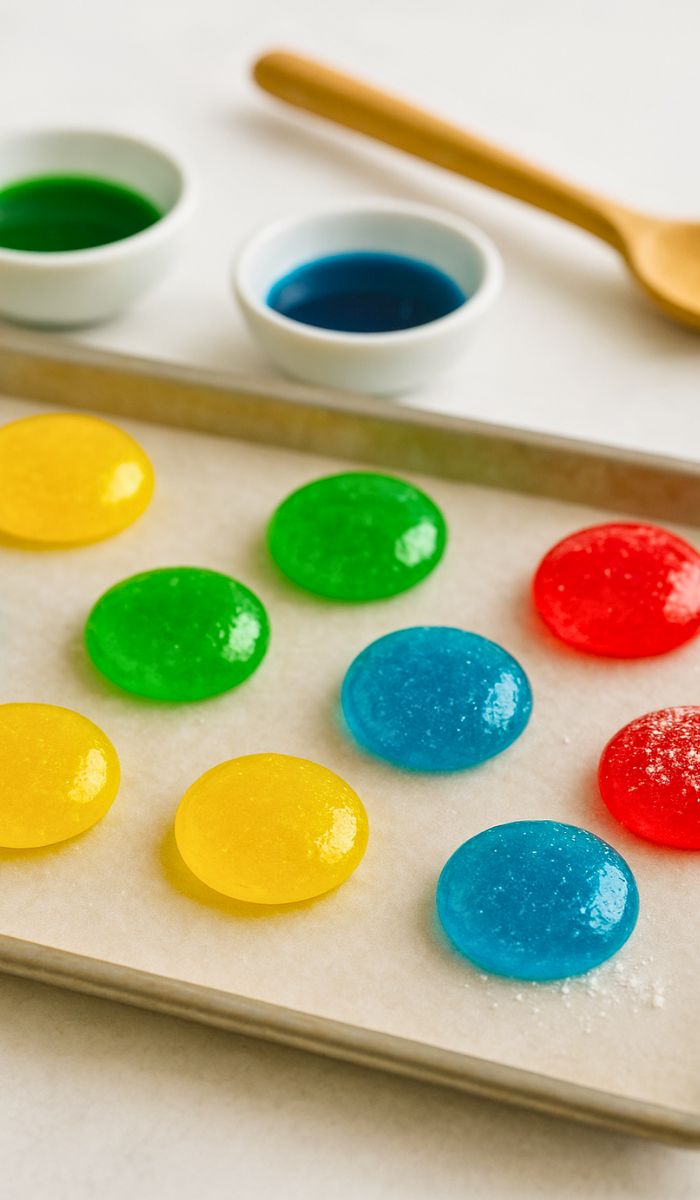
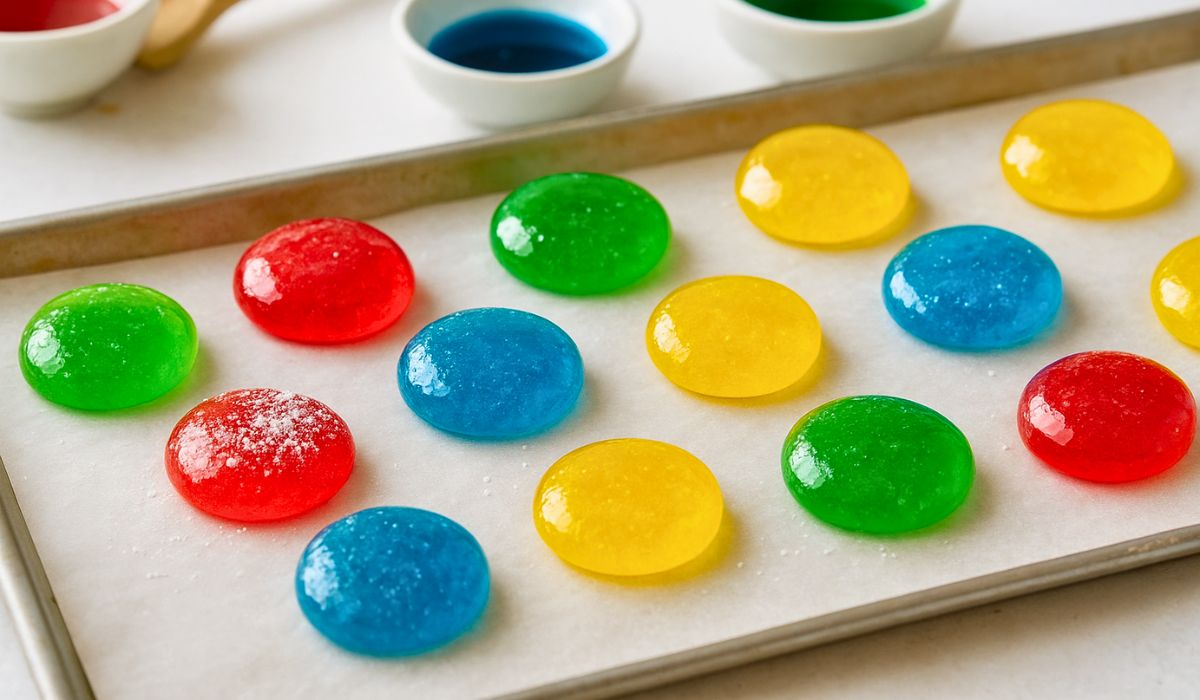
Line a baking sheet with parchment paper. Sprinkle some powdered sugar on top. Keep colors and flavors ready in small bowls.
2. Heat the Mixture
Put sugar, corn syrup, and water in a saucepan. Stir gently. Heat it on medium flame. Let the sugar melt. When it starts boiling, stop stirring.
3. Check the Temperature
Use a candy thermometer. Let the syrup reach 300°F. This is called the hard crack stage. The syrup will look shiny and thick.
4. Add Color and Flavor
Take the pan off the heat. Pour small amounts into bowls. Add food color and flavor. Stir quickly before it hardens.
5. Shape the Candy
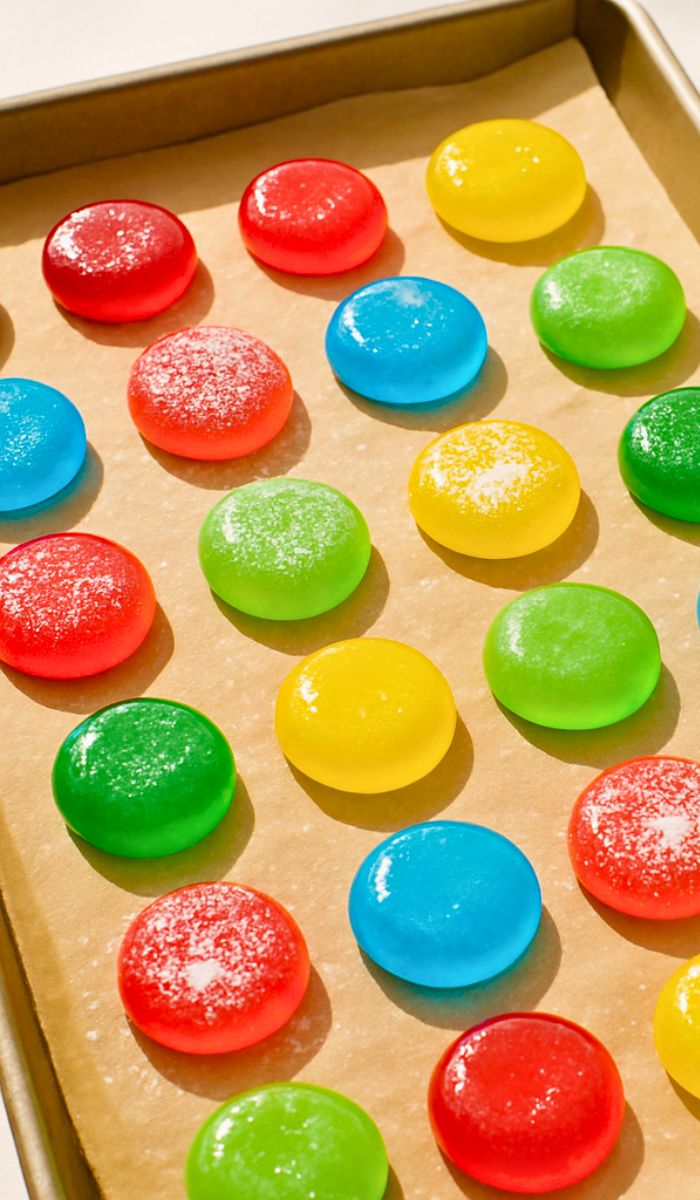
Pour the colored syrup on the parchment sheet. Make small circles or fun shapes. You can also use candy molds. Let them cool for 15–20 minutes.
6. Dust and Enjoy
When the candies are cool, dust them with powdered sugar. This keeps them from sticking. Your bright Magic Candy Recipe is ready to eat!
Tips to Make the Best Magic Candy
- Don’t stir when the syrup boils.
- Always use a candy thermometer.
- Add color fast before it sets.
- Keep candies in a cool and dry place.
- Mix two colors for rainbow candy.
Serving Suggestions
You can serve Magic Candy in cute jars. They make lovely gifts. Add them to cupcakes or cookies for color. Pack them in party bags for kids. You can also enjoy them as after-meal sweets.
Storage and Reheating Tips
Put candies in an airtight jar. Keep them in a cool, dry spot. Do not keep them in the fridge. Moisture makes them sticky. If they soften, leave them in the open air to dry. Do not reheat, or they will melt.
Nutrition Information
| Nutrient | Amount per serving |
|---|---|
| Calories | 90 kcal |
| Carbohydrates | 22 g |
| Sugar | 20 g |
| Fat | 0 g |
| Protein | 0 g |
| Sodium | 2 mg |
Health Benefits
Candy is a sweet treat, but homemade candy is better. You can use your own flavors and colors. There are no fake or harmful ingredients. Making Magic Candy with family is fun. It makes you happy and helps kids learn new things.
Magic Candy Recipe
Ingredients
- 1 cup white sugar
- ½ cup light corn syrup
- ¼ cup water
- Food colors any you like
- ½ teaspoon flavor extract lemon or strawberry
- Powdered sugar for dusting
Instructions
Prepare the Setup
- Line a baking sheet with parchment paper. Sprinkle some powdered sugar on top. Keep colors and flavors ready in small bowls.
Heat the Mixture
- Put sugar, corn syrup, and water in a saucepan. Stir gently. Heat it on medium flame. Let the sugar melt. When it starts boiling, stop stirring.
Check the Temperature
- Use a candy thermometer. Let the syrup reach 300°F. This is called the hard crack stage. The syrup will look shiny and thick.
Add Color and Flavor
- Take the pan off the heat. Pour small amounts into bowls. Add food color and flavor. Stir quickly before it hardens.
Shape the Candy
- Pour the colored syrup on the parchment sheet. Make small circles or fun shapes. You can also use candy molds. Let them cool for 15–20 minutes.
Dust and Enjoy
- When the candies are cool, dust them with powdered sugar. This keeps them from sticking. Your bright Magic Candy Recipe is ready to eat!
Notes
- Don’t stir when the syrup boils.
- Always use a candy thermometer.
- Add color fast before it sets.
- Keep candies in a cool and dry place.
- Mix two colors for rainbow candy.
FAQs about Magic Candy
Q1: How to make Magic Candy at home?
Mix sugar, corn syrup and water. Heat, color and shape.
Q2: What colors are best for Magic Candy?
Bright colors like red, blue and yellow look beautiful.
Q3: Can I use natural flavors?
Yes, lemon, mint and strawberry taste very good.
Q4: Why is my candy sticky?
It has moisture. Keep it in a dry jar.
Q5: Can I make it without corn syrup?
Yes, use honey or golden syrup instead.
Final Thoughts
This Magic Candy Recipe is bright, sweet and fun to make. It is great for birthdays, parties or small gifts. You can change colors and flavors every time.
Watching sugar turn into shiny candy is magical. So grab your sugar, colors and spoon—and make your own sweet magic today!

Hi, I’m Emily Grace! I love cooking simple, tasty food that brings people together. On Bite Dive, I share easy recipes, fun food tips, and ideas to make every meal special. My kitchen is my happy place, and I’m so excited to share it with you!