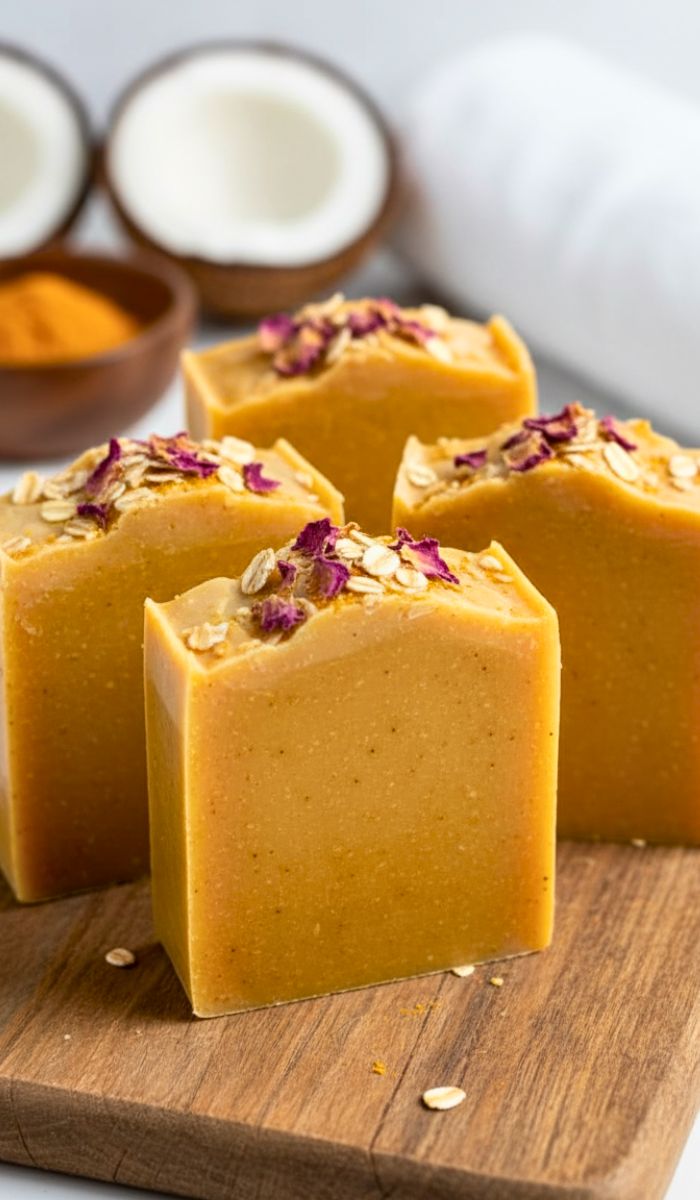
If you want glowing and healthy skin, try this Turmeric Soap Recipe. Turmeric is known for its natural healing properties. It can help with acne, brighten skin and reduce inflammation.
Making this soap at home is easy, fun and safe. I will show you how to make Turmeric Soap with simple steps.
With natural ingredients, your skin will feel soft and refreshed. Once you try this, you may never go back to store-bought soap.
My Experience With This Recipe
I first tried turmeric in my skincare routine as a face mask. It worked well, so I wanted a soap version. After some experimenting, I found a perfect recipe for smooth, golden soap bars.
Making it at home was satisfying. The smell is gentle and the color looks natural. Every time I use it, my skin feels softer and looks brighter. Friends and family loved it too.
Recipe Card info
- Recipe Name: Turmeric Soap
- Servings: 4 bars
- Prep Time: 15 mins
- Cook Time: 30 mins
- Total Time: 45 mins
- Course: Skincare / Soap
- Cuisine: Homemade / Natural
Equipment List
- Soap mold
- Mixing bowls
- Spoon or spatula
- Measuring spoons and cups
- Microwave-safe container or double boiler
- Gloves for safety
- Thermometer (optional)
Ingredients You Need for Turmeric Soap
- 1 cup melt-and-pour soap base (unscented)
- 1 teaspoon turmeric powder
- 1 tablespoon honey
- 1 tablespoon coconut oil
- 5–10 drops essential oil (like lavender or tea tree)
- Optional: dried rose petals or oatmeal for decoration
Instructions
- Cut the Soap Base
Cut the melt-and-pour soap base into small cubes. This helps it melt faster and evenly. - Melt the Soap
Place soap cubes in a microwave-safe container. Microwave in 20-second intervals until fully melted. - Add Coconut Oil
Mix in coconut oil while soap is warm. Stir gently until fully combined for smooth texture. - Mix in Honey
Add honey to the melted soap. Stir slowly to keep it well blended and creamy. - Add Turmeric Powder
Sprinkle turmeric powder into the soap mixture. Stir until the color is even and golden. - Add Essential Oil
Drop in your favorite essential oil. Stir gently to distribute fragrance evenly. - Optional Add-ins
Add dried rose petals or oatmeal if desired. Stir lightly so they do not sink. - Pour Into Mold
Carefully pour the mixture into your soap mold. Tap gently to remove air bubbles. - Cool and Set
Let the soap cool at room temperature for 1–2 hours. Ensure it hardens completely. - Remove From Mold
Gently push soap out of the mold. Cut into bars if needed. Your soap is ready.
Recipe Tips
- Use gloves to avoid skin irritation while handling soap.
- Do not overheat the soap base, it can bubble or burn.
- Adjust turmeric quantity for lighter or deeper color.
- Store soap in a dry place to last longer.
- Essential oils can be mixed for custom scents.
Serving Suggestions
Use this soap daily during your shower or bath. Lather well and gently massage your skin. It works best on clean, wet skin. Rinse thoroughly with water. Your skin will feel soft, refreshed and glowing.
Best Sides To Serve With
Since this is a soap, pair it with:
- Soft bath towel
- Loofah or sponge for gentle exfoliation
- Homemade body lotion or moisturizer
- Relaxing bath salts for extra comfort
- Scented candles for a spa-like feel
Storage and Reheating Tips
Store the soap in a cool, dry place away from direct sunlight. Wrap in paper or keep in a container. It can last up to 6 months. Avoid storing in humid areas. Do not reheat melted soap; make a new batch if needed.
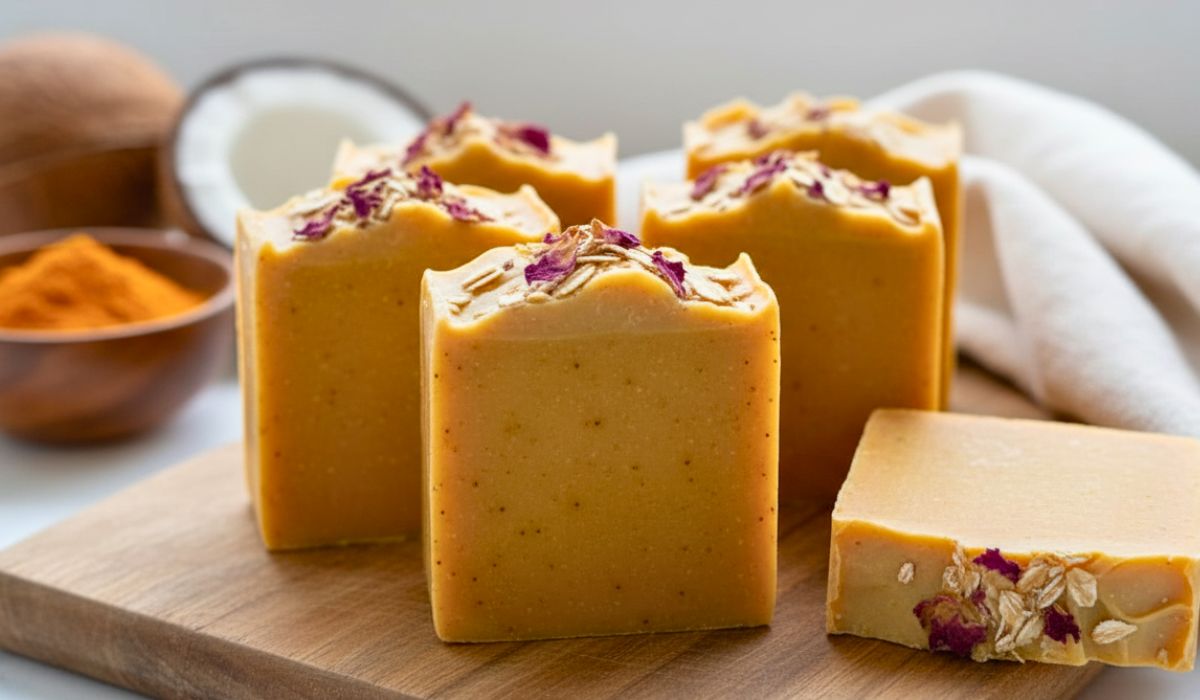
Turmeric Soap Recipe
Ingredients
- 1 cup melt-and-pour soap base unscented
- 1 teaspoon turmeric powder
- 1 tablespoon honey
- 1 tablespoon coconut oil
- 5 –10 drops essential oil like lavender or tea tree
- Optional: dried rose petals or oatmeal for decoration
Instructions
Cut the Soap Base
- Cut the melt-and-pour soap base into small cubes. This helps it melt faster and evenly.
Melt the Soap
- Place soap cubes in a microwave-safe container. Microwave in 20-second intervals until fully melted.
Add Coconut Oil
- Mix in coconut oil while soap is warm. Stir gently until fully combined for smooth texture.
Mix in Honey
- Add honey to the melted soap. Stir slowly to keep it well blended and creamy.
Add Turmeric Powder
- Sprinkle turmeric powder into the soap mixture. Stir until the color is even and golden.
Add Essential Oil
- Drop in your favorite essential oil. Stir gently to distribute fragrance evenly.
Optional Add-ins
- Add dried rose petals or oatmeal if desired. Stir lightly so they do not sink.
Pour Into Mold
- Carefully pour the mixture into your soap mold. Tap gently to remove air bubbles.
Cool and Set
- Let the soap cool at room temperature for 1–2 hours. Ensure it hardens completely.
Remove From Mold
- Gently push soap out of the mold. Cut into bars if needed. Your soap is ready.
Notes
- Use gloves to avoid skin irritation while handling soap.
- Do not overheat the soap base, it can bubble or burn.
- Adjust turmeric quantity for lighter or deeper color.
- Store soap in a dry place to last longer.
- Essential oils can be mixed for custom scents.
FAQs about Turmeric Soap
Q1: Can I use turmeric soap on sensitive skin?
Yes, but start with a small area first. Turmeric is gentle, but skin reactions vary.
Q2: Can I add other natural ingredients to this soap?
Absolutely. Ingredients like oatmeal, coffee grounds or dried flowers can be added for texture.
Q3: How often should I use turmeric soap?
Daily use is fine. It is natural, gentle and helps keep skin soft and bright.
Q4: Can I use essential oils for fragrance?
Yes, essential oils like lavender, tea tree or chamomile add natural scent and skin benefits.
Conclusion!
This Turmeric Soap Recipe is simple, natural and effective for glowing skin. You now know how to make Turmeric Soap at home with easy steps and safe ingredients.
It is a fun DIY project and a wonderful gift for friends or family. Using this soap daily can help your skin feel soft, fresh and healthy. Try it once and you will enjoy homemade skincare like never before.

Hi, I’m Emily Grace! I love cooking simple, tasty food that brings people together. On Bite Dive, I share easy recipes, fun food tips, and ideas to make every meal special. My kitchen is my happy place, and I’m so excited to share it with you!